App Install
Click the "Install Teams With OAuth" button under the "Installation Settings" section.
Follow the Steps to complete the OAuth Flow to install the Teams integration
Check "Consent on behalf of your organization" before clicking "Accept"
You will be asked to approve the following scopes:
- User.Read.All
- Chat.ReadWrite.WhereInstalled
Bot Install
Navigate to Teams Admin Center → Teams Apps → Manage Apps.
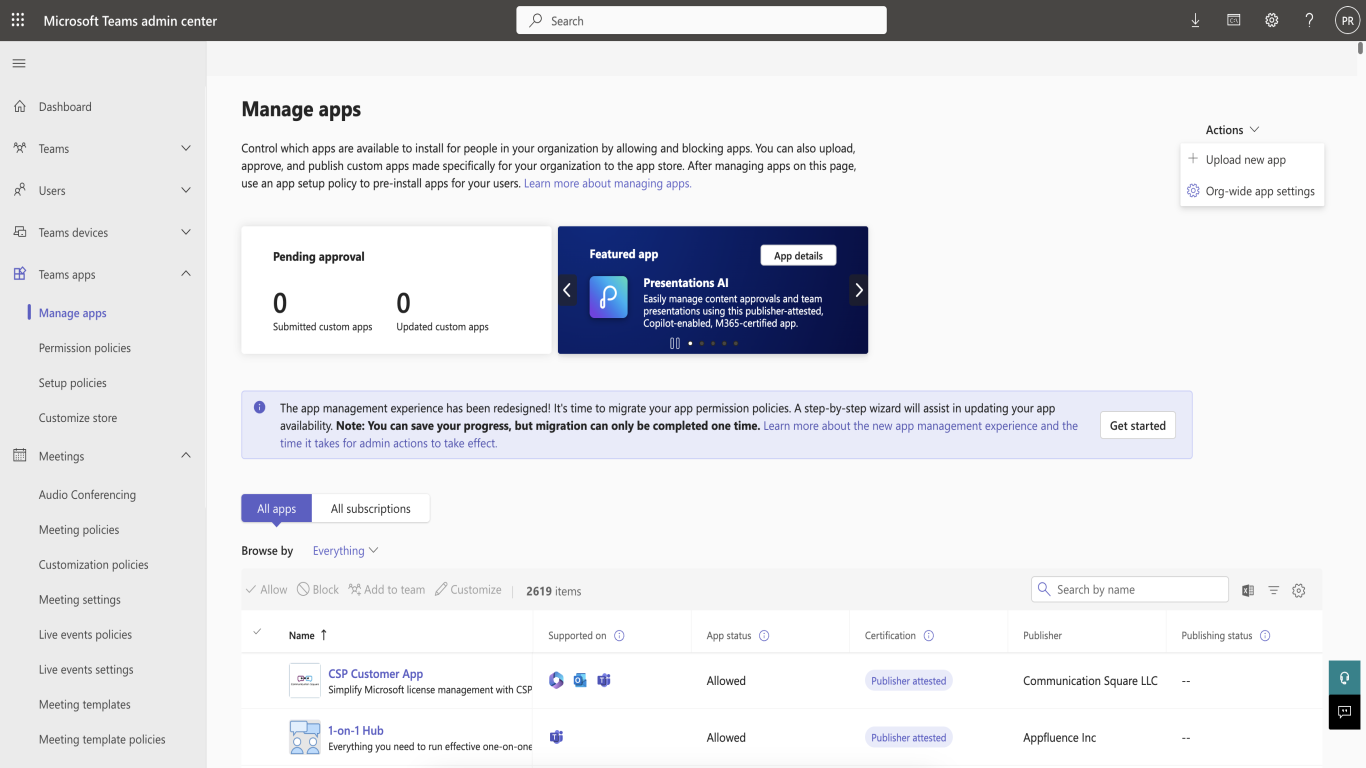
Managed Apps → Actions (Drop Down) → Upload New App.
Download the App's Zip file from here and Upload it.
(https://assets.ctfassets.net/a4bu6lgkooz7/1o95rUONse1VEq6QPITlk4/9d6d1663983376d979c11a9ee87f0ee4/Ampy-20250124.zip)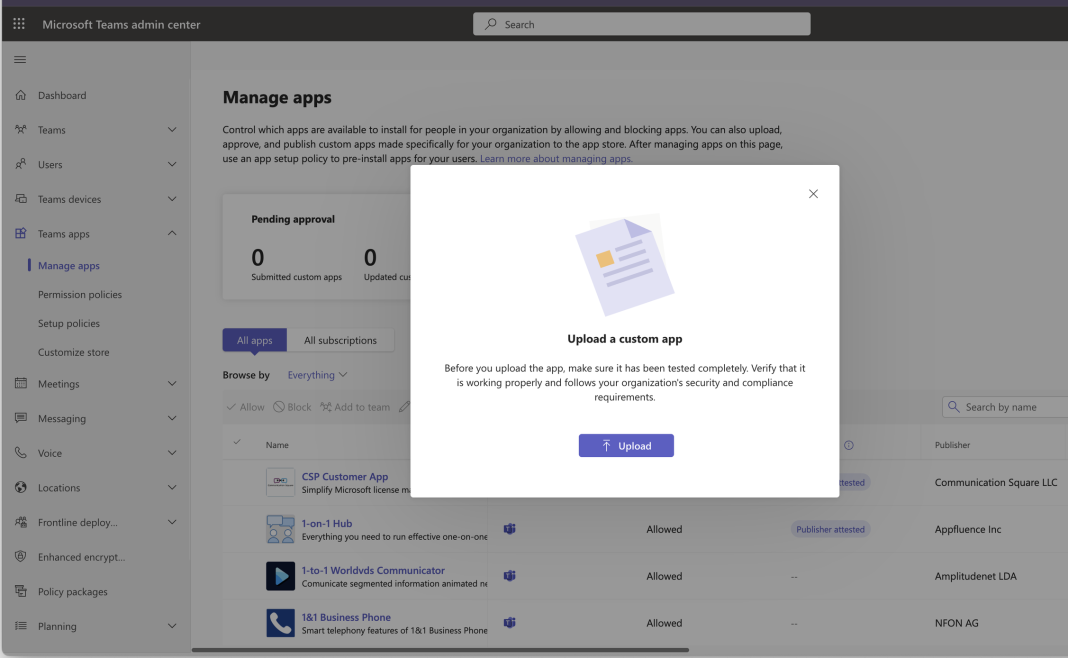
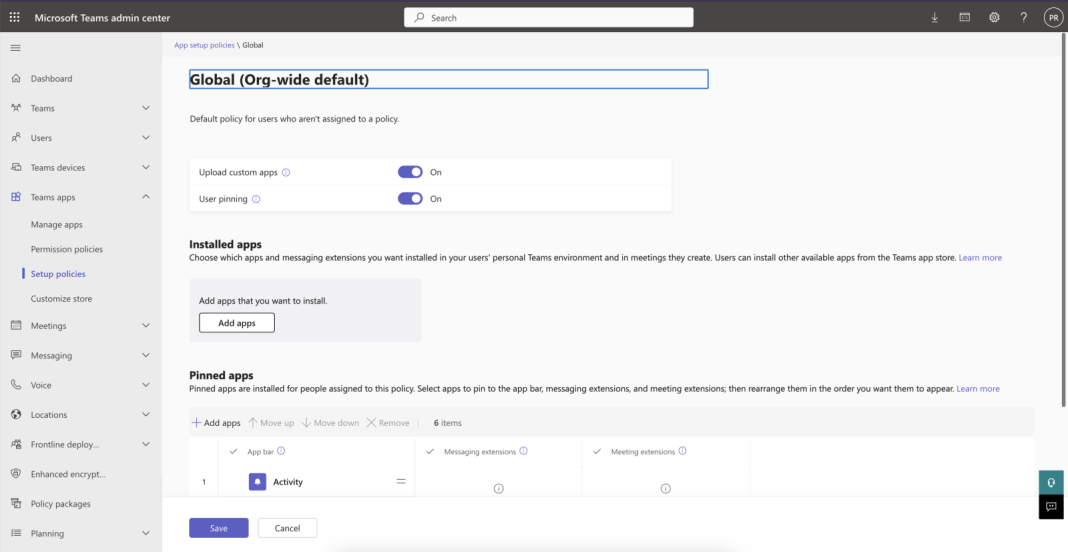
Next Navigate to Setup Policies → Global (Org-wide default)
Click on Add Apps → Select Global → Search by Name of App "Ampy".
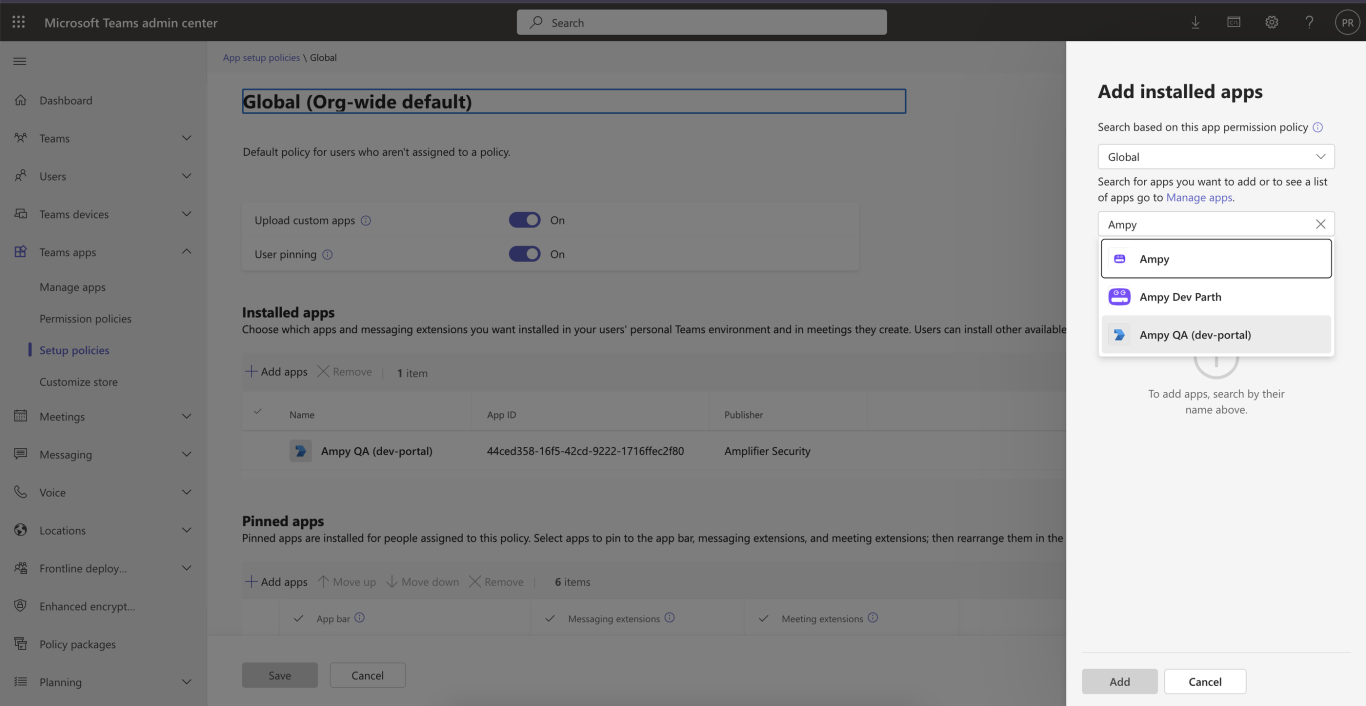
Select App and Add → Save.

Best Practices for Installing and Using Ampy in Teams
#1 Create a Dedicated Team for Amplifier Security
- Create a specific team, such as “Amplifier Security Team” to centralize all Ampy related activities. This ensures better organization and simplifies monitoring bot usage.
- Open Microsoft Teams on your desktop or web browser. In the left-hand sidebar, click on Teams.
- Click on plus ( + ) sign to Join or create a team.
- Select Create a team.
- Choose From scratch if displayed option to choose.
- Select Private to allow specific users in organization to join the team if necessary.
- Enter a Team Name (e.g., "Amplifier Security Team") and a brief description.
- Click Create.
- Add Channels To Dedicated Team
- In the newly created team, click on the ellipsis (•••) next to the team name.
- Select Add channel.
- Enter a Channel Name (e.g., "Bot Notifications").
- Under Choose Channel Type, select Standard - Everyone on a Team has Access. ⚠️ Important: Private and shared channels do not support bot installation by Microsoft Teams.
- Click Add.
- Repeat this step to create multiple channels if needed for different types of bot messages or audiences.
#2 Limit Installation to Necessary Teams and Channels
- Install Ampy only in teams and channels where its functionality is required.
- Open Microsoft Teams and click the Teams icon on the left menu bar.
- Select the specific Team you want to add the app to. Click on the three dots (...) next to the Team name.
- From the dropdown menu, choose Manage team.
- In the Manage Team view, navigate to the Apps tab at the top menu.
- Click on Get more apps or use the search bar to search for the app you wish to install.
- Enter the app name (Ampy) and press Enter.
- Locate the app in the search results and click on App.
- Select Open.
- In the app installation dialog, select the Channel where you want to install the app. Use the search field to locate the desired channel, then select it.
- Click Go to finalize adding the app to the selected channel.
#3 Use Standard (Public) Channels Only
- Ampy is compatible only with standard (public) channels.
- Ensure channels intended for Ampy interactions are configured as standard, as private or shared channels are not supported by Microsoft Teams.
#4 Restrict Access to Ampy Managed Teams
- Limit team membership to individuals who need to interact with Ampy. This ensures that only relevant users have access and reduces unnecessary usage.
#5 Use Clear and Descriptive Channel Names
- Assign intuitive names to channels where Ampy operates to clearly indicate their purpose, such as, “QA Updates” for system updates , “Vulnerability Updates” for reports , etc.
#6 Restrict Unnecessary Interactions
- Use Ampy's functionality to focus only on relevant actions and outputs to avoid unnecessary messages or distractions in the channels where it operates.
Was this article helpful?
That’s Great!
Thank you for your feedback
Sorry! We couldn't be helpful
Thank you for your feedback
Feedback sent
We appreciate your effort and will try to fix the article